
Wrinkles in my "Crinkle Quilts"
There has been much curiosity as to how I get the wrinkles in my "crinkle quilts". I'll take you through the process using "Circle Round". That piece is the first of five pieces in a what I call my sliced series.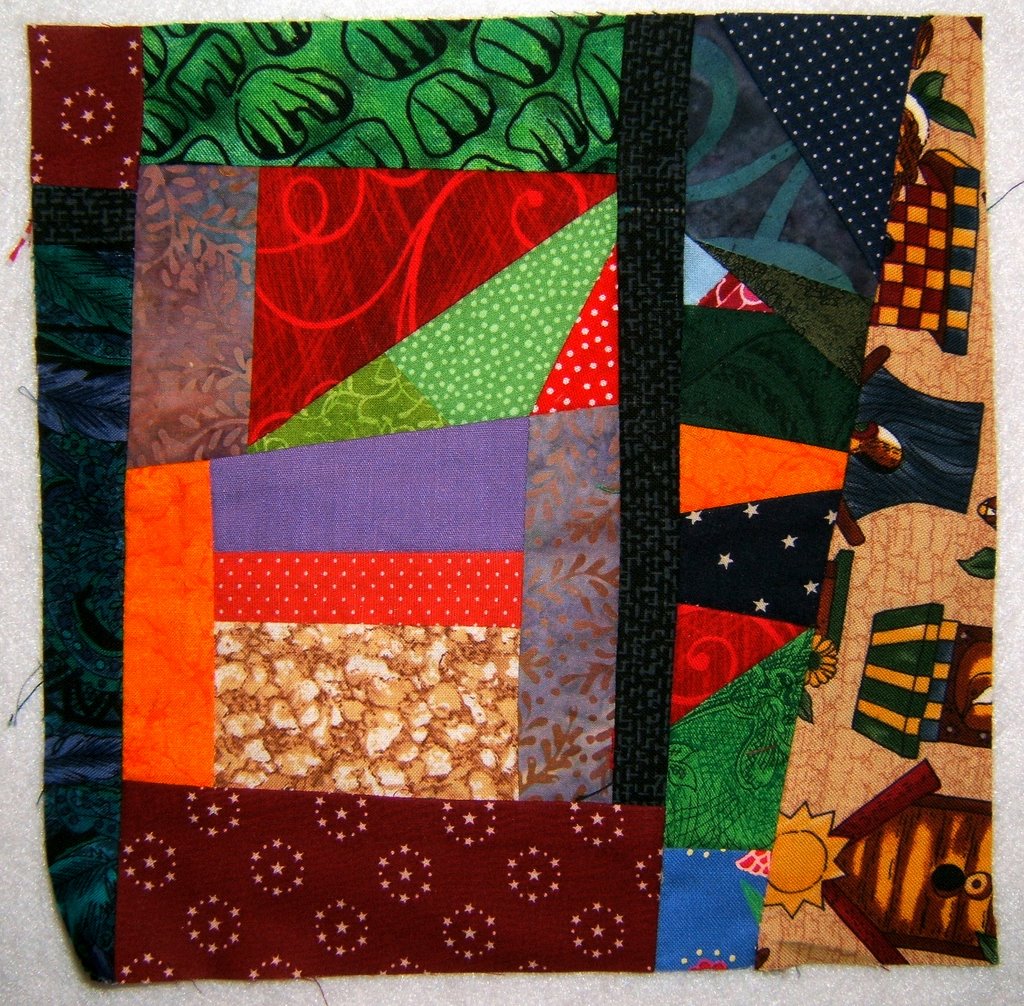 I started out with four 8" squares of pieced together scrap fabrics. I make these up whenever the mood strikes. Up until this series they have all gone into quilts that I make for sick children.
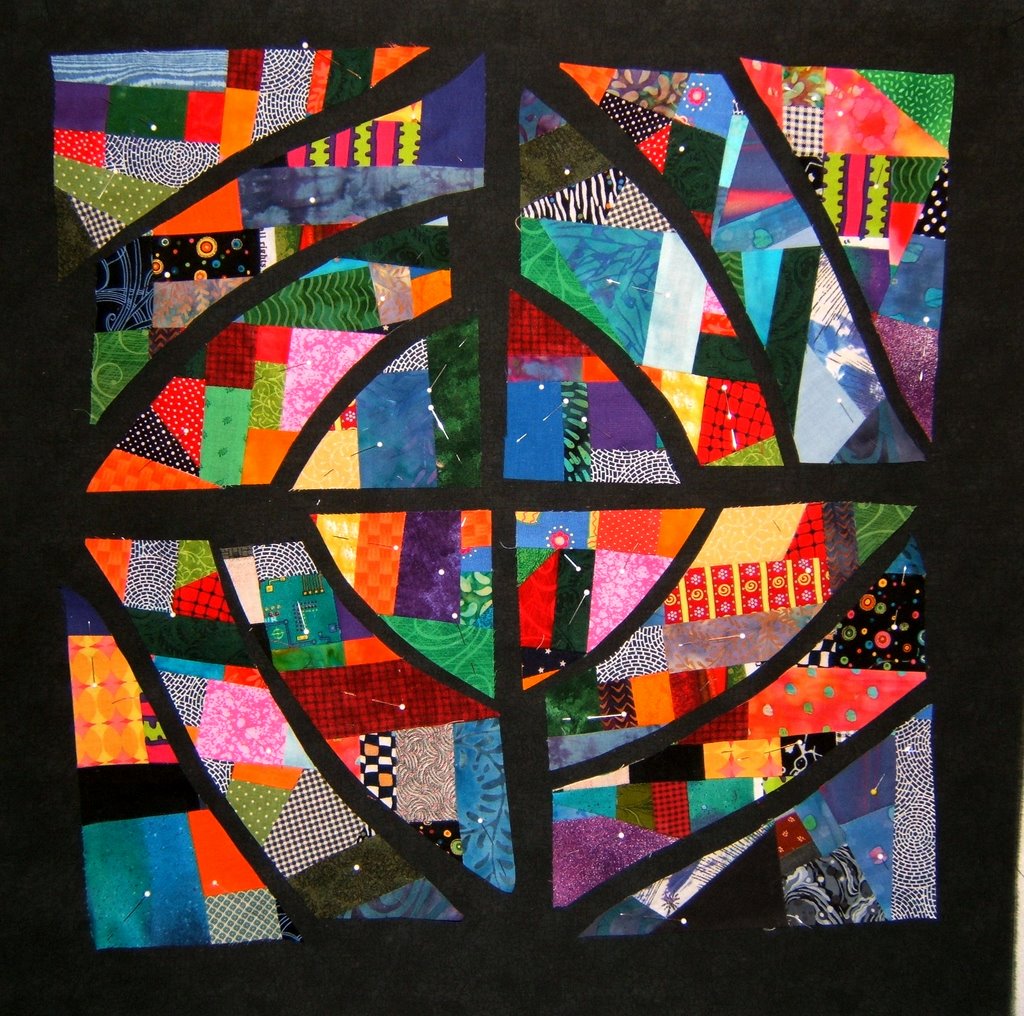 I had layered the four 8" squares right side up and then sliced them diagonally into four pieces. Because the four pieces within each square are the same shape they are interchangeable. I rearranged those pieces to achieve a better balance of colors. Here you see those pieces pinned onto a large square of black fabric on my design wall. The next step was to sew. I machine top-stitched around the cut shapes with a small zig-zag appliqueing them to the black fabric. I then cut away the black fabric from behind the pieced sections (the first step toward making a series).
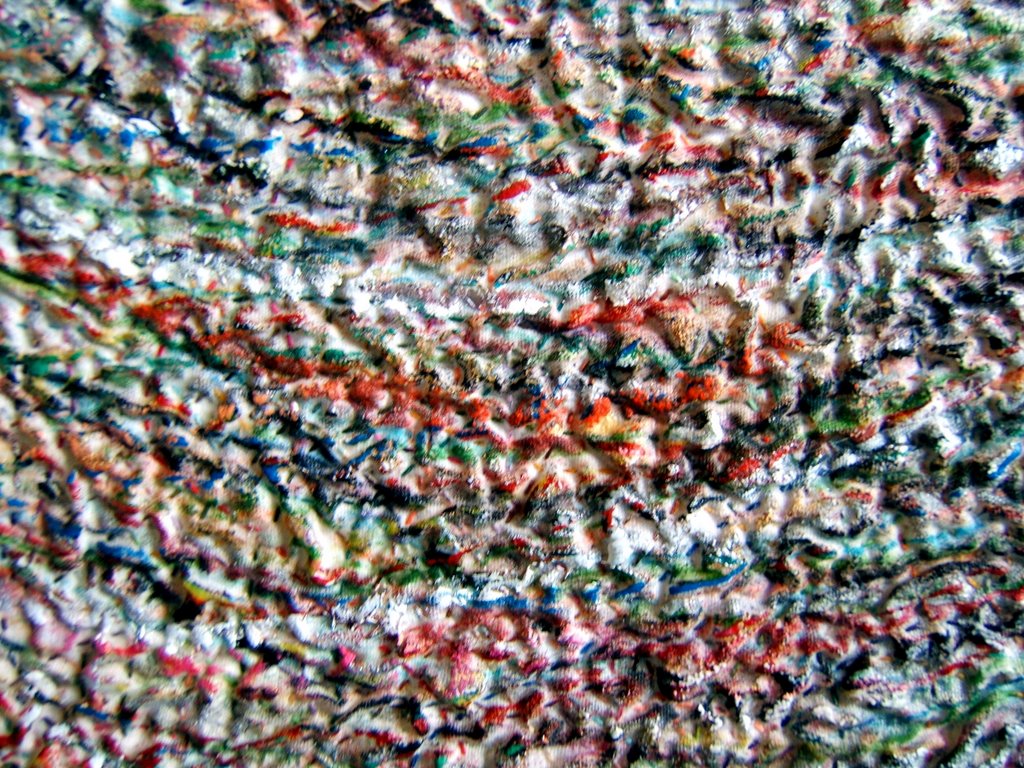
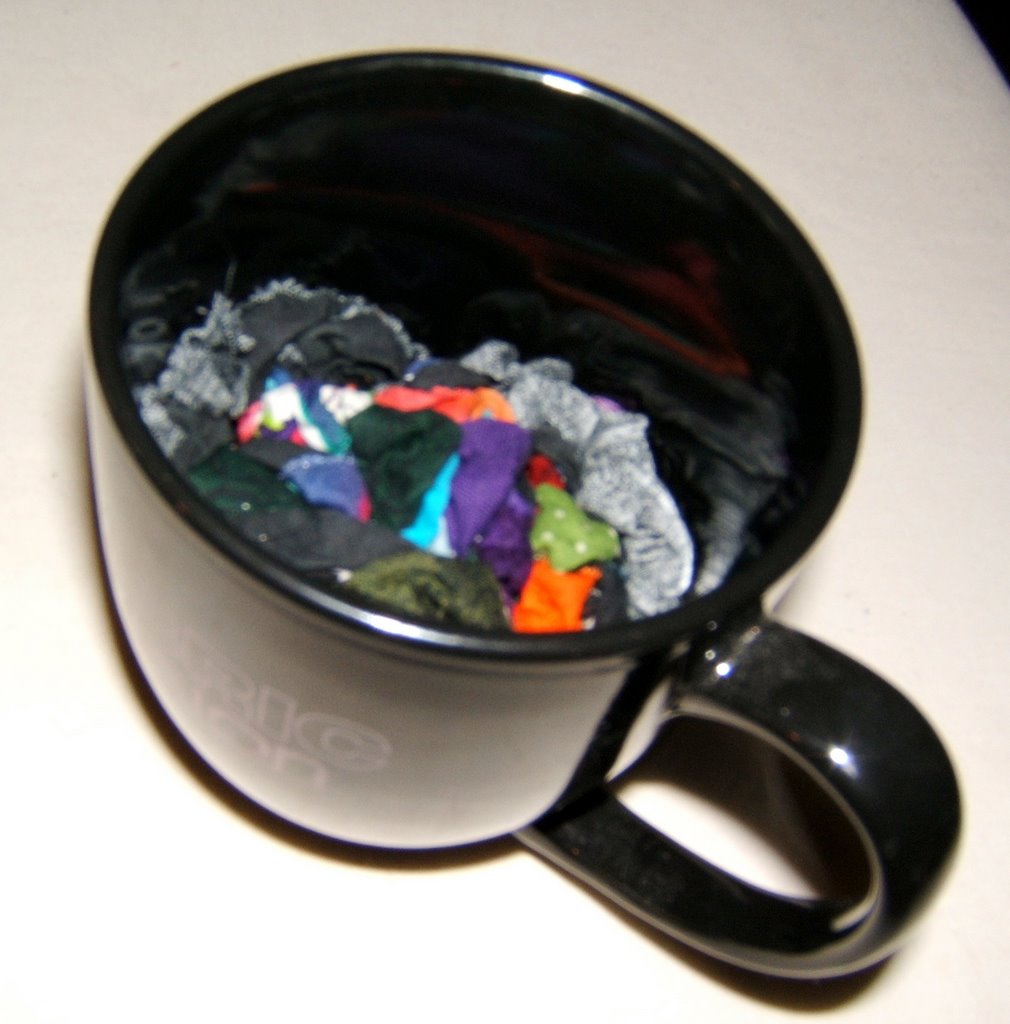 I then saturated the sewn together piece with spray starch and then stuffed it firmly down into a coffee mug. I use my fist and a wooden spoon to pack it firm. It then sits in the mug for about a week. By then it is nearly dry and the wrinkles are well set.
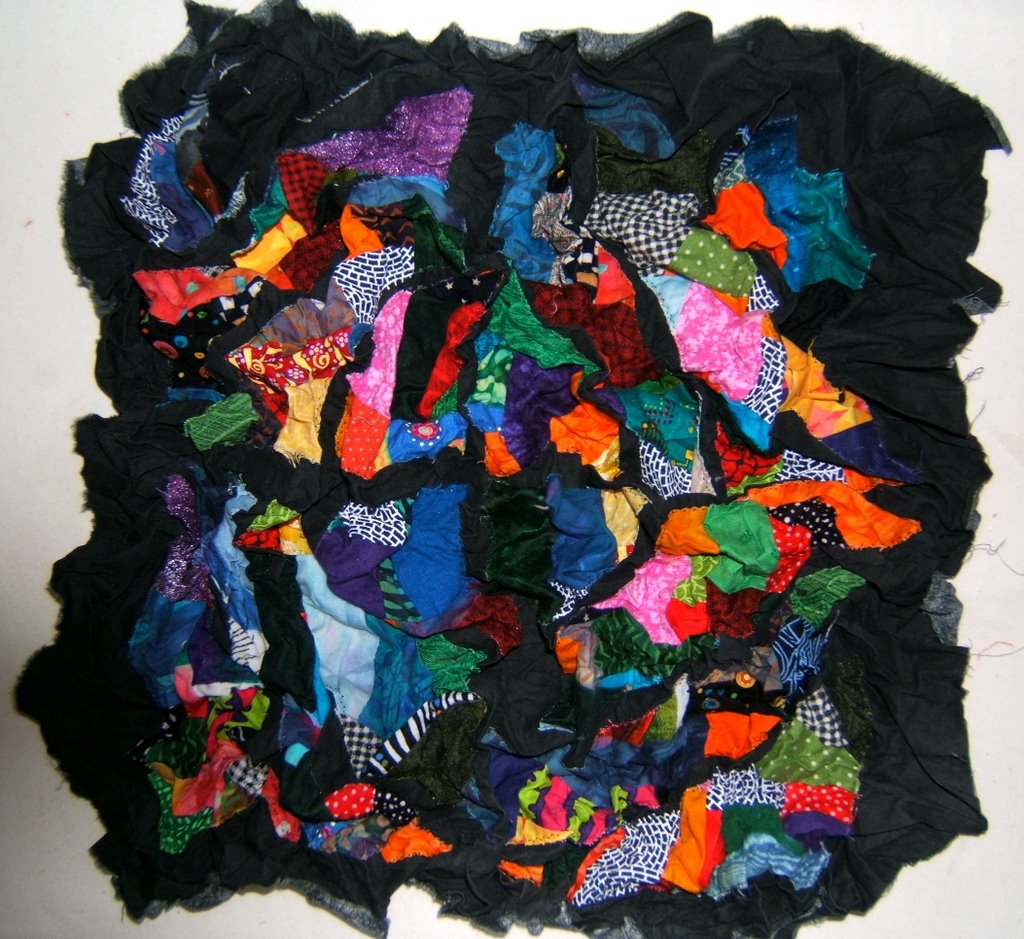 I gently stretch it out to continue the drying process.
 After it is dry, I pat it into place over a layer of batting and backing fabric (these two layers are flat). The three layers are basted together and ready for quilting.
My next posting will be about the second piece in this sliced series.
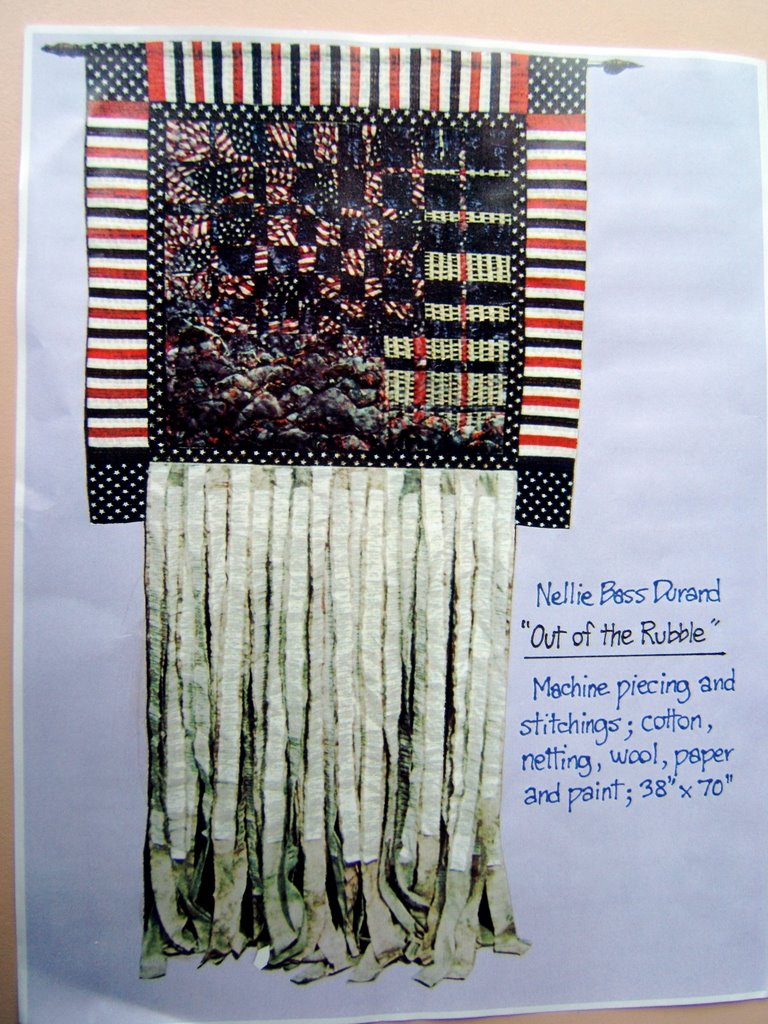
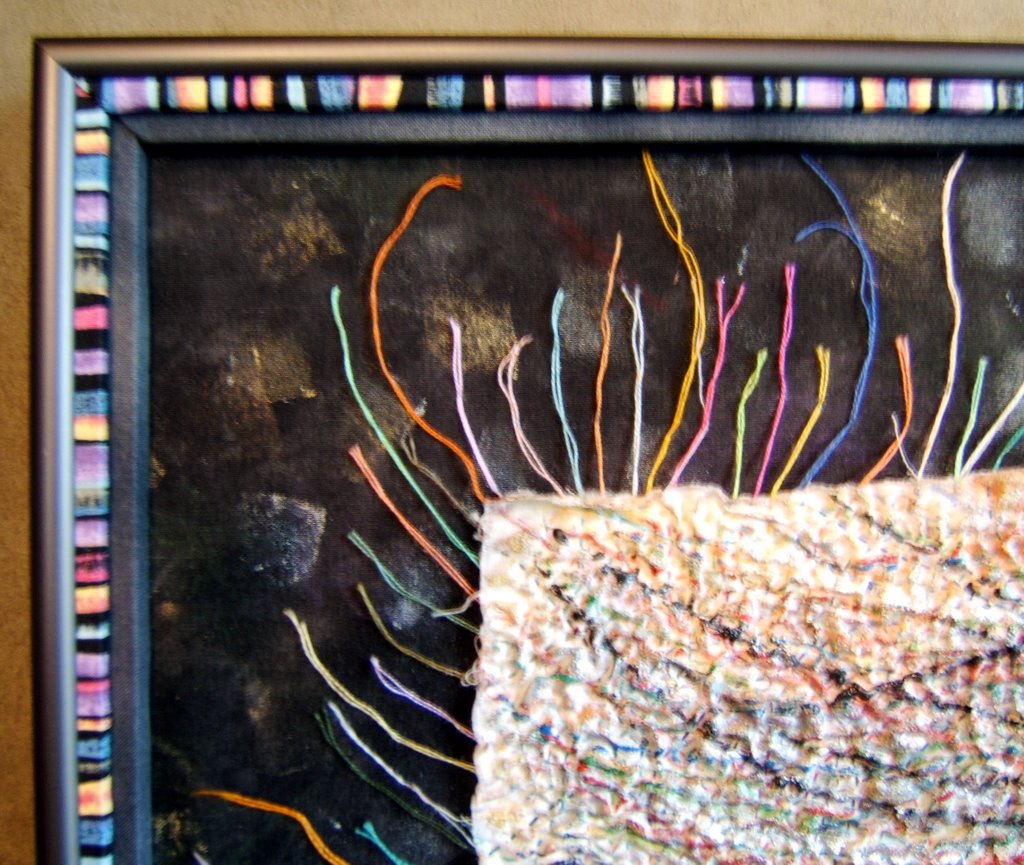
All photos are clickable for you to view a larger version in a separate window. Click the back arrow icon of your server to get back to this post. The highlighted text is also clickable to take you to the link or posting that is being referenced.


 This is as much of the back side of the quilt as I could get in a photo with it on the bed ... about a quarter of it. As you can see, I like to piece the backs. Quilts are sculptural to me and the the back is just as important as are the fronts. Also, I had thought maybe I'd display this side up once in awhile, but never have.


 Fabric Bird Sculpture Pattern


