
Fun Small Shoe Quilts
I took time just before, as well as during, ArtPrize to play ... creating smaller shoe quilts with purses.

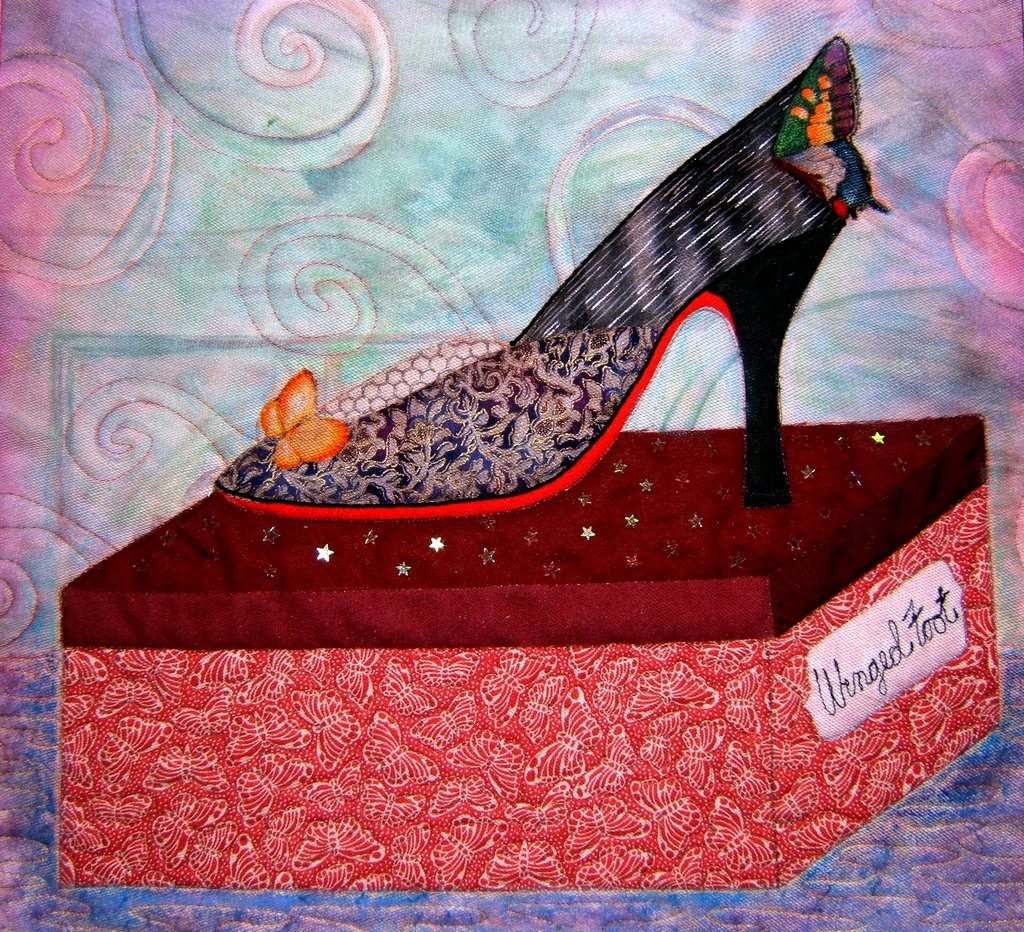
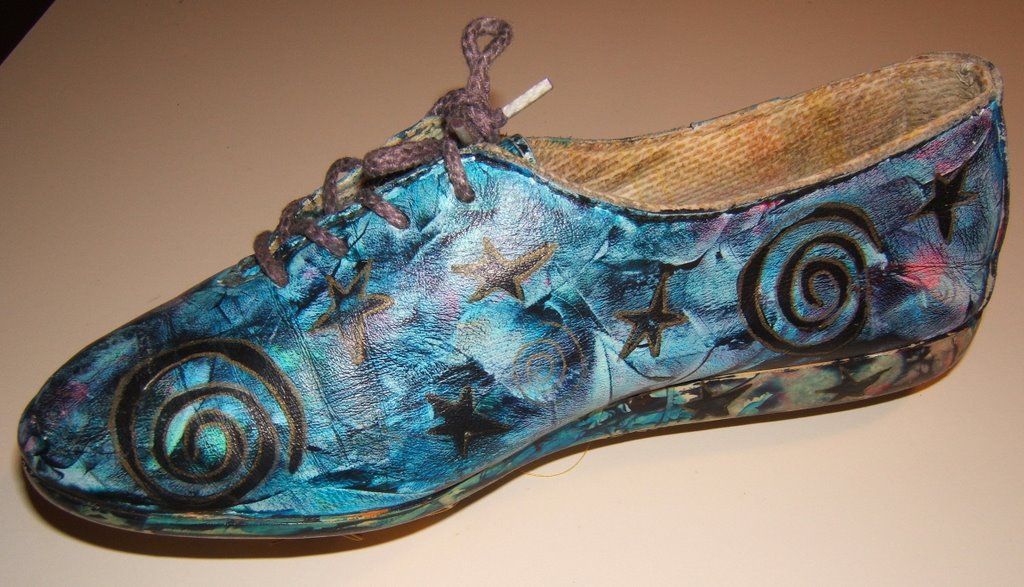
"Bleu Belle" Shoe - 18"x 18"

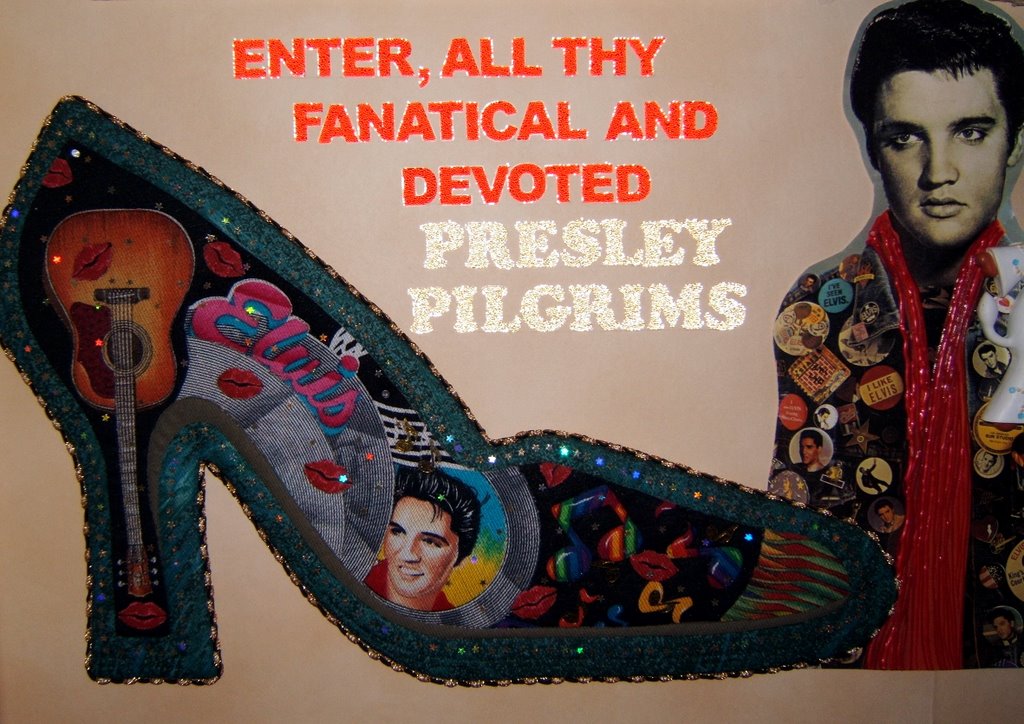
"Harlequin" Shoe - 18"x 18"

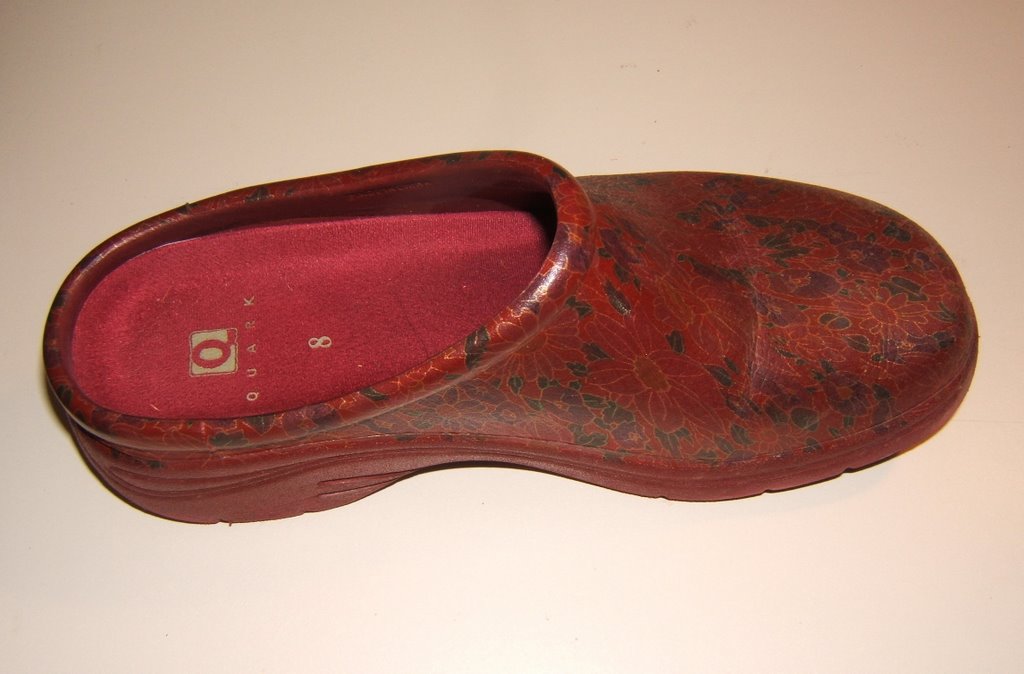
"Spice Girl" Shoe - 18"x 18"

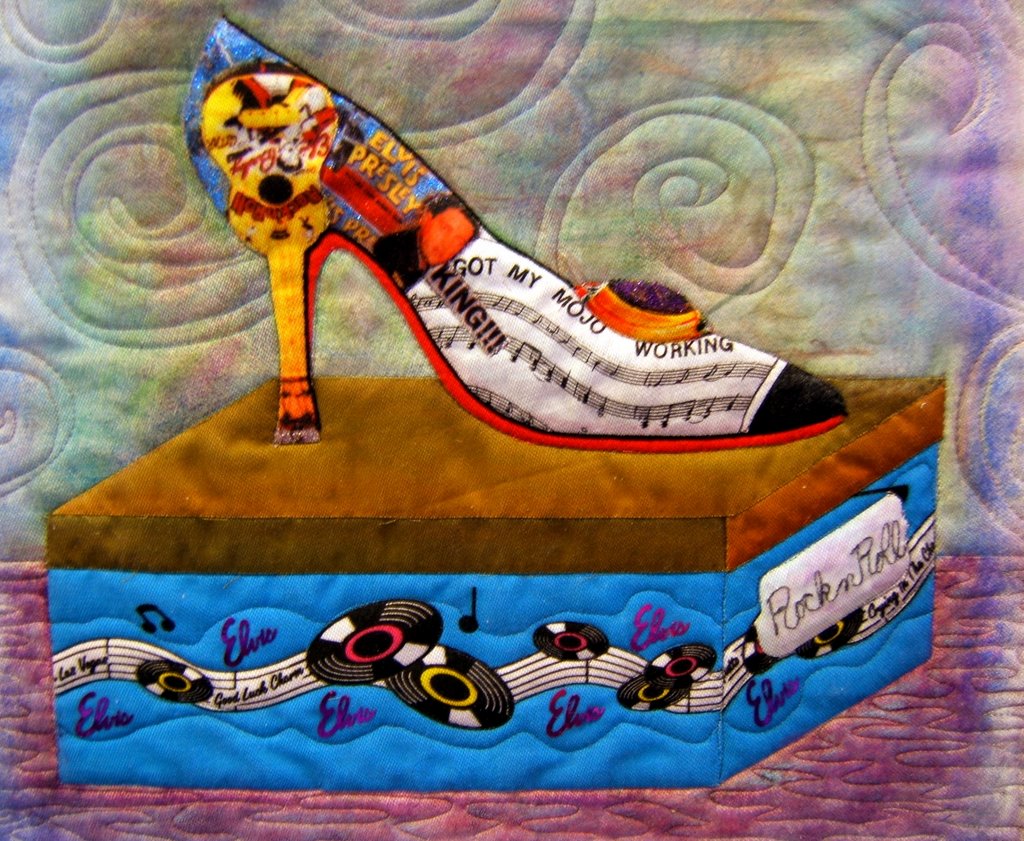
"Black Lace Girl" Shoe (18"x 18")
Those four plus one more, the "Red Shoe" (forgot to photograph that one) can be seen ... and purchased for $400 each ... at Good Goods Gallery in Saugatuck, Michigan.
This last one was made as a gift for my interior decorator friend who has been supplying me with expired fabric books and yardage leftovers for years. The tapestry background and framing fabric for the above shoe quilts came from her as well as the backing fabric for each of them.

"Congo Pump for Ebbie" (24"x 18")
This shoe is African themed because Ebbie and her husband had lived there and the room where it is displayed has the flavor of that continent.
I'm in the process of working on yet another smaller shoe quilt. It's a commission that resulted from the person seeing "Imelda's Dream II" at ArtPrize and the one I created for Ebbie. You'll have to wait to see and read more about that one after it's been gifted at Christmas.


 Fabric Bird Sculpture Pattern


