Nellie"s Needles

Thursday, May 04, 2006

Hudertwasser's Happy Houses

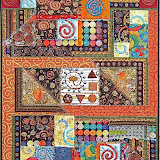
The collage project that I worked on while Alicia made her "Oriental Robe" piece is the third in my series of Hundertwasser's happy houses. I made this to meet a fabric challenge presented by the quilt shop, Fabric Fusion, owned by a friend in Milwaukee. The quilts made for this event are on display at the shop on Brown Deer Road until May 20th.

"A Hot Time ..." (in the old town tonight) - 19"x22 - 2006

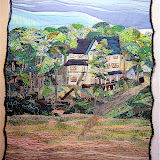
I've been fascinated with Friedensreich Hundertwasser's art and philosophy since 1998 when my nephew, Peter, brought a book about him to our summer cottage. I knew then that I wanted to interpret Hundertwasser's houses into fiber. I'm intriqued with his strong feelings about trees as fellow tenents of our dwellings and that we all should have the right to decorated our doors and windows for as far as we can reach to do so. To me most of his paintings are quilt-like.
"Hundertwasser's Happy Houses I" - 24"x24" - 2003
Gifted to Alicia - Christmas 2004. It hangs in Milwaukee, Wisconsin.

The quilting patterns for all three pieces are done with a "continuous" line. I did this to honor his drawing of a spiral climbing horizontally up the walls of a room in 1959. I almost panicked when my bobbin thread ran out. But then, I realized he most likely had to put down his pen to answer the call of nature before he was finished. So, I wound a new bobbin and picked up the line where I left off.

Also, I free-motion quilted all ten names that he claimed during his life in the foregrounds of my first two pieces.

"Hundertwasser's Happy Houses II" - 18"x20" - 2003

My daughter-in-law, Terra, had fallen in love with HHHI, so I made this one for her birthday. It hangs in Evanston, Illinois.

Wednesday, May 03, 2006

Collage Quilt Technique

On last year's visit my friend Alicia saw my friend, Sheila Rauen's , book titled "Sassy Cats" in my studio. That gave her the idea to make a piece depicting the cat that lives with her daughter's family. Alicia followed the pattern pretty closely from Sheila's book, but she used my collage technique to execute it.

The technique I've come up with is:
- Lay down a backing fabric wrong side up
- Lay batting over backing fabric
- Layer a background right side up on top. Spray a light coat of adhesive onto the background fabric. I use Sulky's KK2000 Temporary Spray Adhesive because it disappears within a few days.
- Cut out and arrange the elements of the design.
- Top it off with a layer of tulle to capture and hold all those loose pieces. I audition various colors of tulle by trapping the lower edge of the tulle against the table top with my body. I lower the tulle over the piece making sure there is no contact, because the loose pieces in the composition are easily "picked up" or disturbed by any direct contact in spite of the adhesive. Each color gives a different feel, or mood, to the piece.
- Cut the tulle netting slightly larger than the piece. Spray the "under side" with the Sulky adhesive. Layer the tulle over the finished composition.
- Pin baste all the layers together.
- Machine quilt the piece. Begin by stitching around the outside perimeters and get a few major lines across the piece so you can remove most of the pins. Complete the desired quilting pattern(s).

Embellish the surface with couched yarns or threads. Also, oil stick pastels, crayons, or paint can be applied over the tulle to emphasize (or mask) design lines or areas. The cats whiskers and highlights on the glass bowl are made with pastels. There are two layers of tulle (one that is white) in the area of the water.

This collage technique executes design ideas rather quickly because all the raw edges are confined under the tulle. Also, it's a lot easier to play with and place (or remove) all the elements within a composition because nothing is stitched down. It's fun!

Tuesday, May 02, 2006

Accordian Quilting

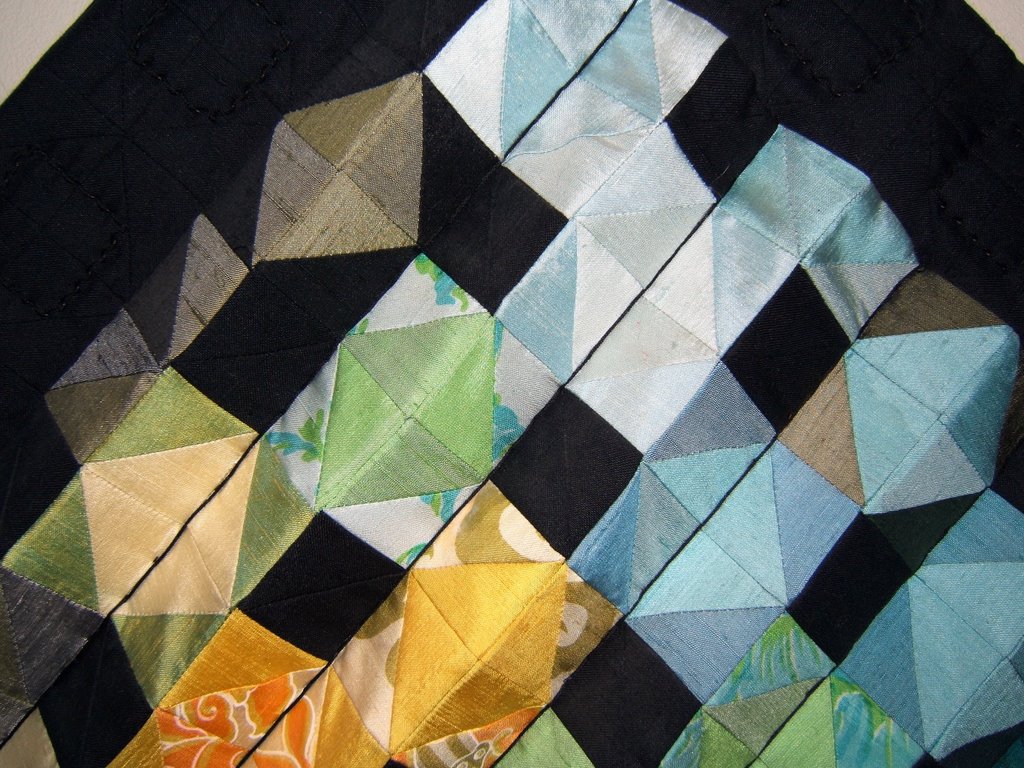
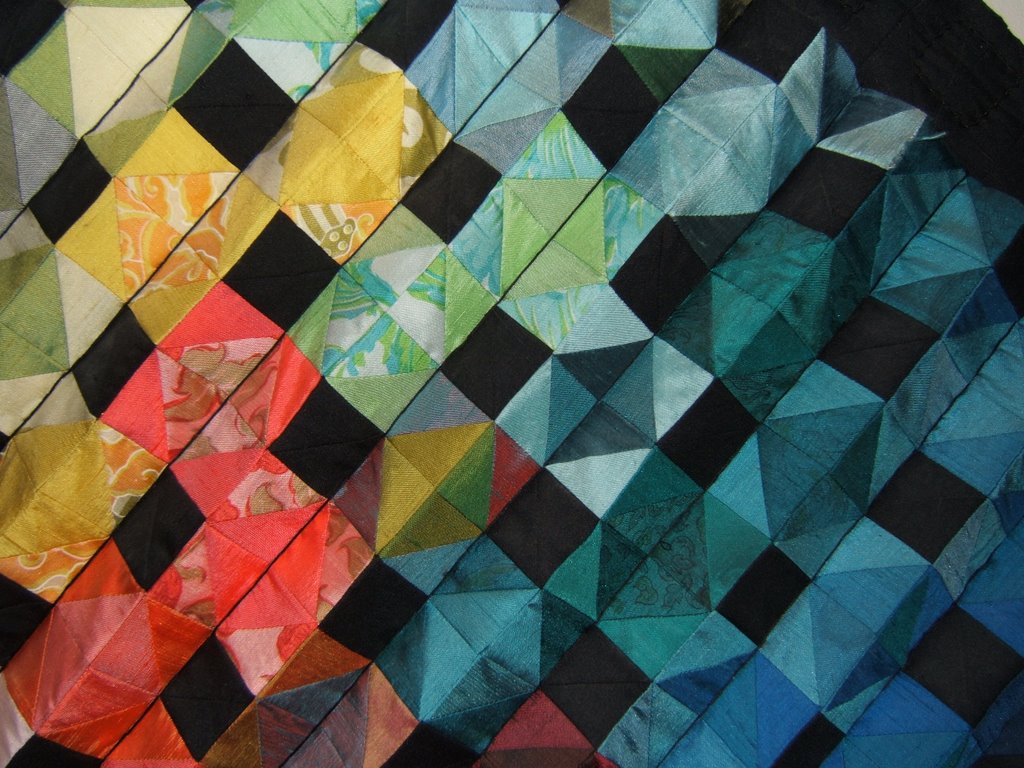
I had previously mentioned "accordian quilting" in the posting about Market Mania. Here's the first piece (as well as being my first quilt ever) made in this technique.

Patchwork Perspective - 1993
36"x36"(point-point)

Materials: Thai silk fabric samples, variety of black silks, silk thread, Strathmore acid free paper.

Technique: Strips of heavy Strathmore paper the length of the pieced area and the width of two squares were cut. Each strip was scored down the center of the length with an exacto knife and gently folded to form a long tent. All the strips were layed under the pieced area over a larger prepared background that extended to make a border. I fiddled with the positioning of the paper "tents" to space them evenly. The seam allowances on the long smooth sides were tucked under the paper and blind stitched in place. The seam allowances on the tented sides were folded under and finger pressed. I used a curved needle to sew the pieced top to the foundation along the valleys between the peaks of the tents. These running stitches were also the quilting stitches. I whipped another strand of black silk around them to make solid lines visually.


I used this form of presentation because I liked the dynamics of the visual distortion and movement of the squares. The piece literally dances before your eyes.

My intention was to make all of my quilts with this technique. However, learning the craft of quilting (including precise piecing without using 100's of pins) waylaid that plan. It was three years before I made "Market Mania" and I haven't yet made another in this form.

"Patchwork Perspective" was a Christmas gift to my older son and daughter-in-law. It hangs in their livingroom in Evanston, Illinois. I love visiting it.

Monday, May 01, 2006

Whipped Quilting Stitch

I'd like to share a technique that makes a solid line of quilting as opposed to the broken line of running stitches usually created by a row of quilting stitches. This method is called the "whipped running stitch" in embroidery. I use a tapestry needle/size 24. This needle has a large elongated eye and blunt point.

It seems I've been embroidering all my life ... beginning with tea towels when I was 8 years old. So when the square shapes that I had quilted with black thread on a black background didn't show up in my first quilted project I decided to make a visually stronger line by whipping a different type of silk thread around the quilting stitches.

A few years later I had the problem of my quilting pattern dissappearing on a newsprint fabric in the piece, "Market Mania". I wrapped my quilting stitches with the same thread I used to quilt the shapes to make it more visible.

On this piece, "Beyond the Rainbow", I wanted to use shiny threads that were too fragile to quilt with ... they shredded after just a few stitches. I like the visual effect of fine solid lines glittering over this piece rather than the more subtle effect of a background quilting pattern.

I've also used this whipped stitch technique to make quilted words stand out (sorry there's no photo and those quilts are long gone). Using heavier threads in strong colors raise up on the surface. Also, nice curves can be gotten with the "weaving" over irregular quilting. It sure beats embroidering through all those layers. Plus the back of the quilt isn't messed up with partial stitches and knots.

Sunday, April 09, 2006

I'm Back

Finally, I'm back online. My server connection went haywire and then my friend from Milwaukee came for an extended visit. Our time together is intensely busy and I just couldn't face dealing with server problems while she was here.

When I'm with my friend, Alicia, we always come up with ideas that end up as major projects. Usually we work on the same type of creation. I'll feature some of our parallel projects in future postings.

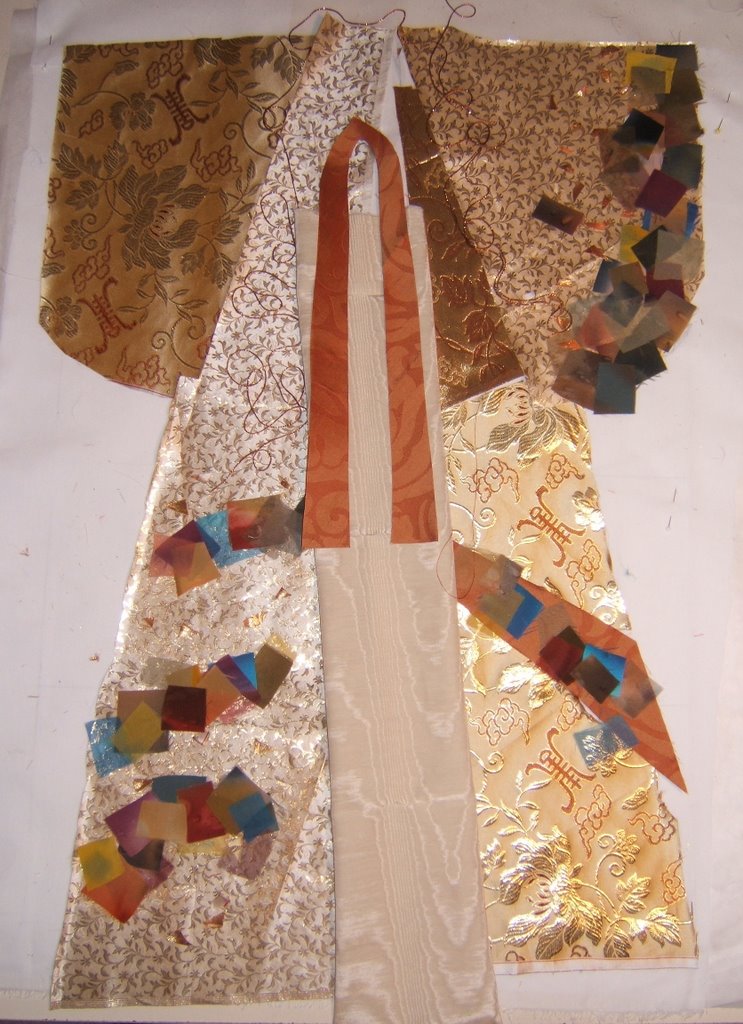
This year she desired to make a kimono wall hanging for her living room. Here it is layed out for the collage technique that I use (tulle netting placed over loose pieces - the quilting holds everything in place).

Most of the fabrics are silk remnants. The small squares are small silk fabric samples that were cut even smaller.

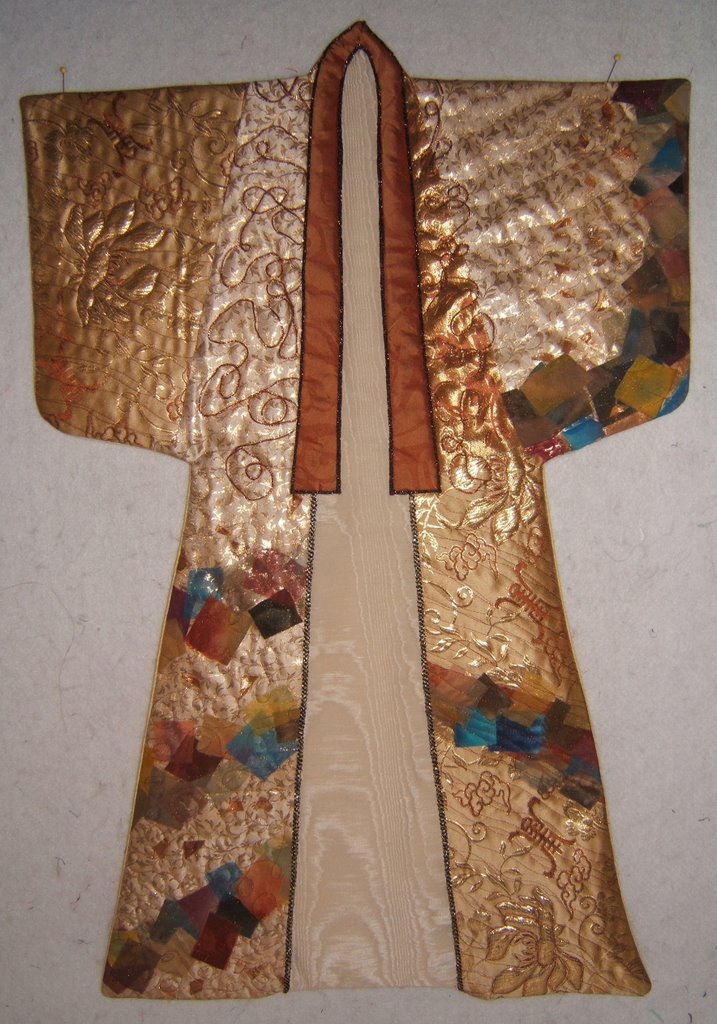
Here it is finished. I contributed the free motion quilting. Otherwise, it's all her doing.

"Oriental Robe" - 22"x28" by Alicia Mullins - 2006

Alicia is full of wonderful ideas,but lacks the facilities, materials and "know how" to execute them. I'm most pleased to share my studio, stash of supplies, and knowledge to help her make them real. I miss having this exquisite piece hanging on my design wall.